
Introduction
Ever wondered how the myriad components in your electronic devices come together to function seamlessly? The answer lies in a fundamental process called soldering.
Soldering is the process of joining two or more electronic components together by melting a filler metal, known as solder, into the joint. The result? A sturdy electrical bond that ensures your devices function as intended.
In the realm of electronics, soldering is indispensable. It provides stable, long-lasting connections, enabling the miniaturization of electronics by creating intricate connections in small spaces.
In this guide, we’ll delve into the art of soldering. From the essential tools to advanced techniques, we aim to provide a comprehensive resource for all skill levels. So, let’s get started on this journey to mastering soldering!
Understanding Soldering and Its Importance in PCB
What is Soldering?
Soldering is a fundamental process in electronics that involves joining two or more components together by melting a filler metal, known as solder, into the joint. The solder then cools and solidifies, forming a sturdy electrical bond between the components. This bond ensures that electrical current can flow seamlessly between the components, allowing the device to function as intended.
Soldering is not limited to just joining components; it also plays a crucial role in shaping and repairing electronic circuits. From fixing a broken wire to assembling a complex circuit board, soldering is a versatile skill that finds application in various aspects of electronics.
The Role of Soldering in Circuit Boards
In the context of Printed Circuit Boards (PCBs), soldering takes on an even more significant role. PCBs are the heart of any electronic device, housing the device’s entire electronic circuit. The components on a PCB – ranging from resistors and capacitors to integrated circuits – all need to be securely connected to the board. This is where soldering comes in.
Soldering provides a reliable and durable means of attaching these components to the PCB. By creating a strong electrical bond, soldering ensures that each component can interact with the others as per the circuit design. This is crucial for the device’s overall functionality.
Moreover, soldering allows for the miniaturization of electronic devices. As devices become smaller and more compact, the circuits within them need to follow suit. Soldering enables the creation of intricate connections in these small spaces, making it an indispensable process in modern electronics manufacturing.
Essential Tools for Soldering Circuit Board
Just like an artist needs their brushes and paints, a soldering professional requires a set of tools to create their masterpiece. These tools not only make the soldering process easier but also ensure the creation of reliable and high-quality solder joints. Let’s take a look at some of these essential tools.
The Soldering Iron: Your Primary Tool
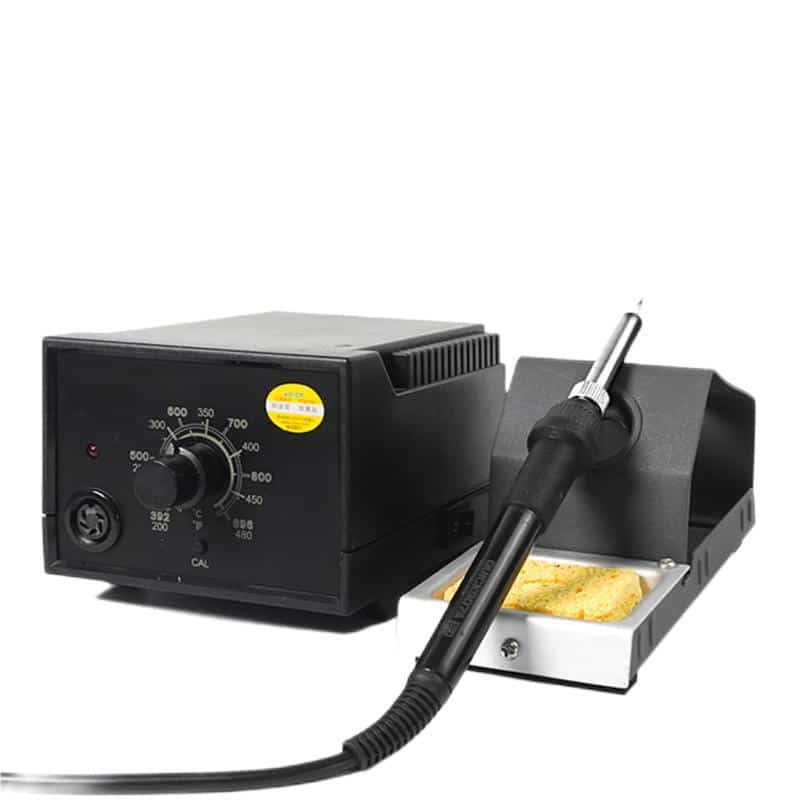
The soldering iron is the star of the show. It’s a handheld tool that heats up to melt the solder. Soldering irons come in various types and sizes, each suited for different kinds of jobs. For instance, a soldering iron with a fine tip would be ideal for working on small components or intricate circuits.
Solder Wire: Composition and Selection
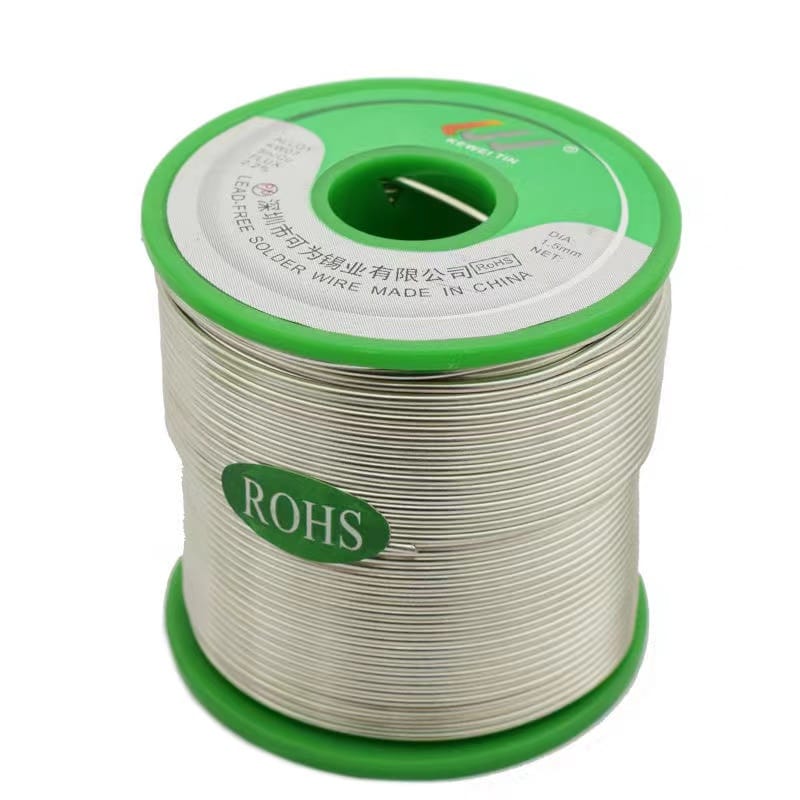
Solder wire is the material that forms the actual joint. It’s a metal alloy that melts when heated by the soldering iron and solidifies quickly upon cooling. The most commonly used solder is a mix of tin and lead, although lead-free solder is becoming more popular due to health and environmental concerns. The choice of solder wire can significantly impact the quality of the solder joint, so it’s crucial to select the right one for your task.
Additional Tools: From Solder Sucker to PCB Holder Jig
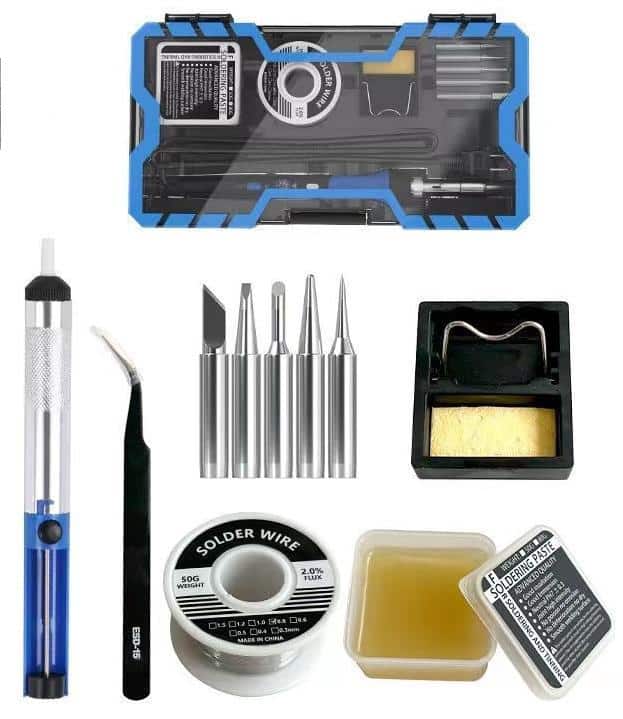
Apart from the soldering iron and solder wire, several other tools can make your soldering process smoother. A solder sucker or desoldering pump is used to remove excess or misplaced solder. Tweezers can help in positioning small components. A soldering station provides a controlled environment for your soldering work, often with adjustable temperature settings. A soldering iron stand keeps your hot iron safe when not in use, and a PCB holder jig can securely hold your circuit board while you work on it.
Step-by-Step Guide to Soldering Circuit Boards
Soldering might seem daunting at first, but with the right guidance and plenty of practice, you can master this essential skill. Here’s a step-by-step guide to help you get started.
Preparing for Soldering: Safety and Setup
Before you start soldering, it’s crucial to ensure your safety and prepare your workspace. Always work in a well-ventilated area to avoid inhaling fumes from the solder. Wear safety glasses to protect your eyes from any potential splashes of molten solder. Set up your soldering station with all the necessary tools within reach. Secure the PCB in the PCB holder jig to keep it steady during the soldering process.
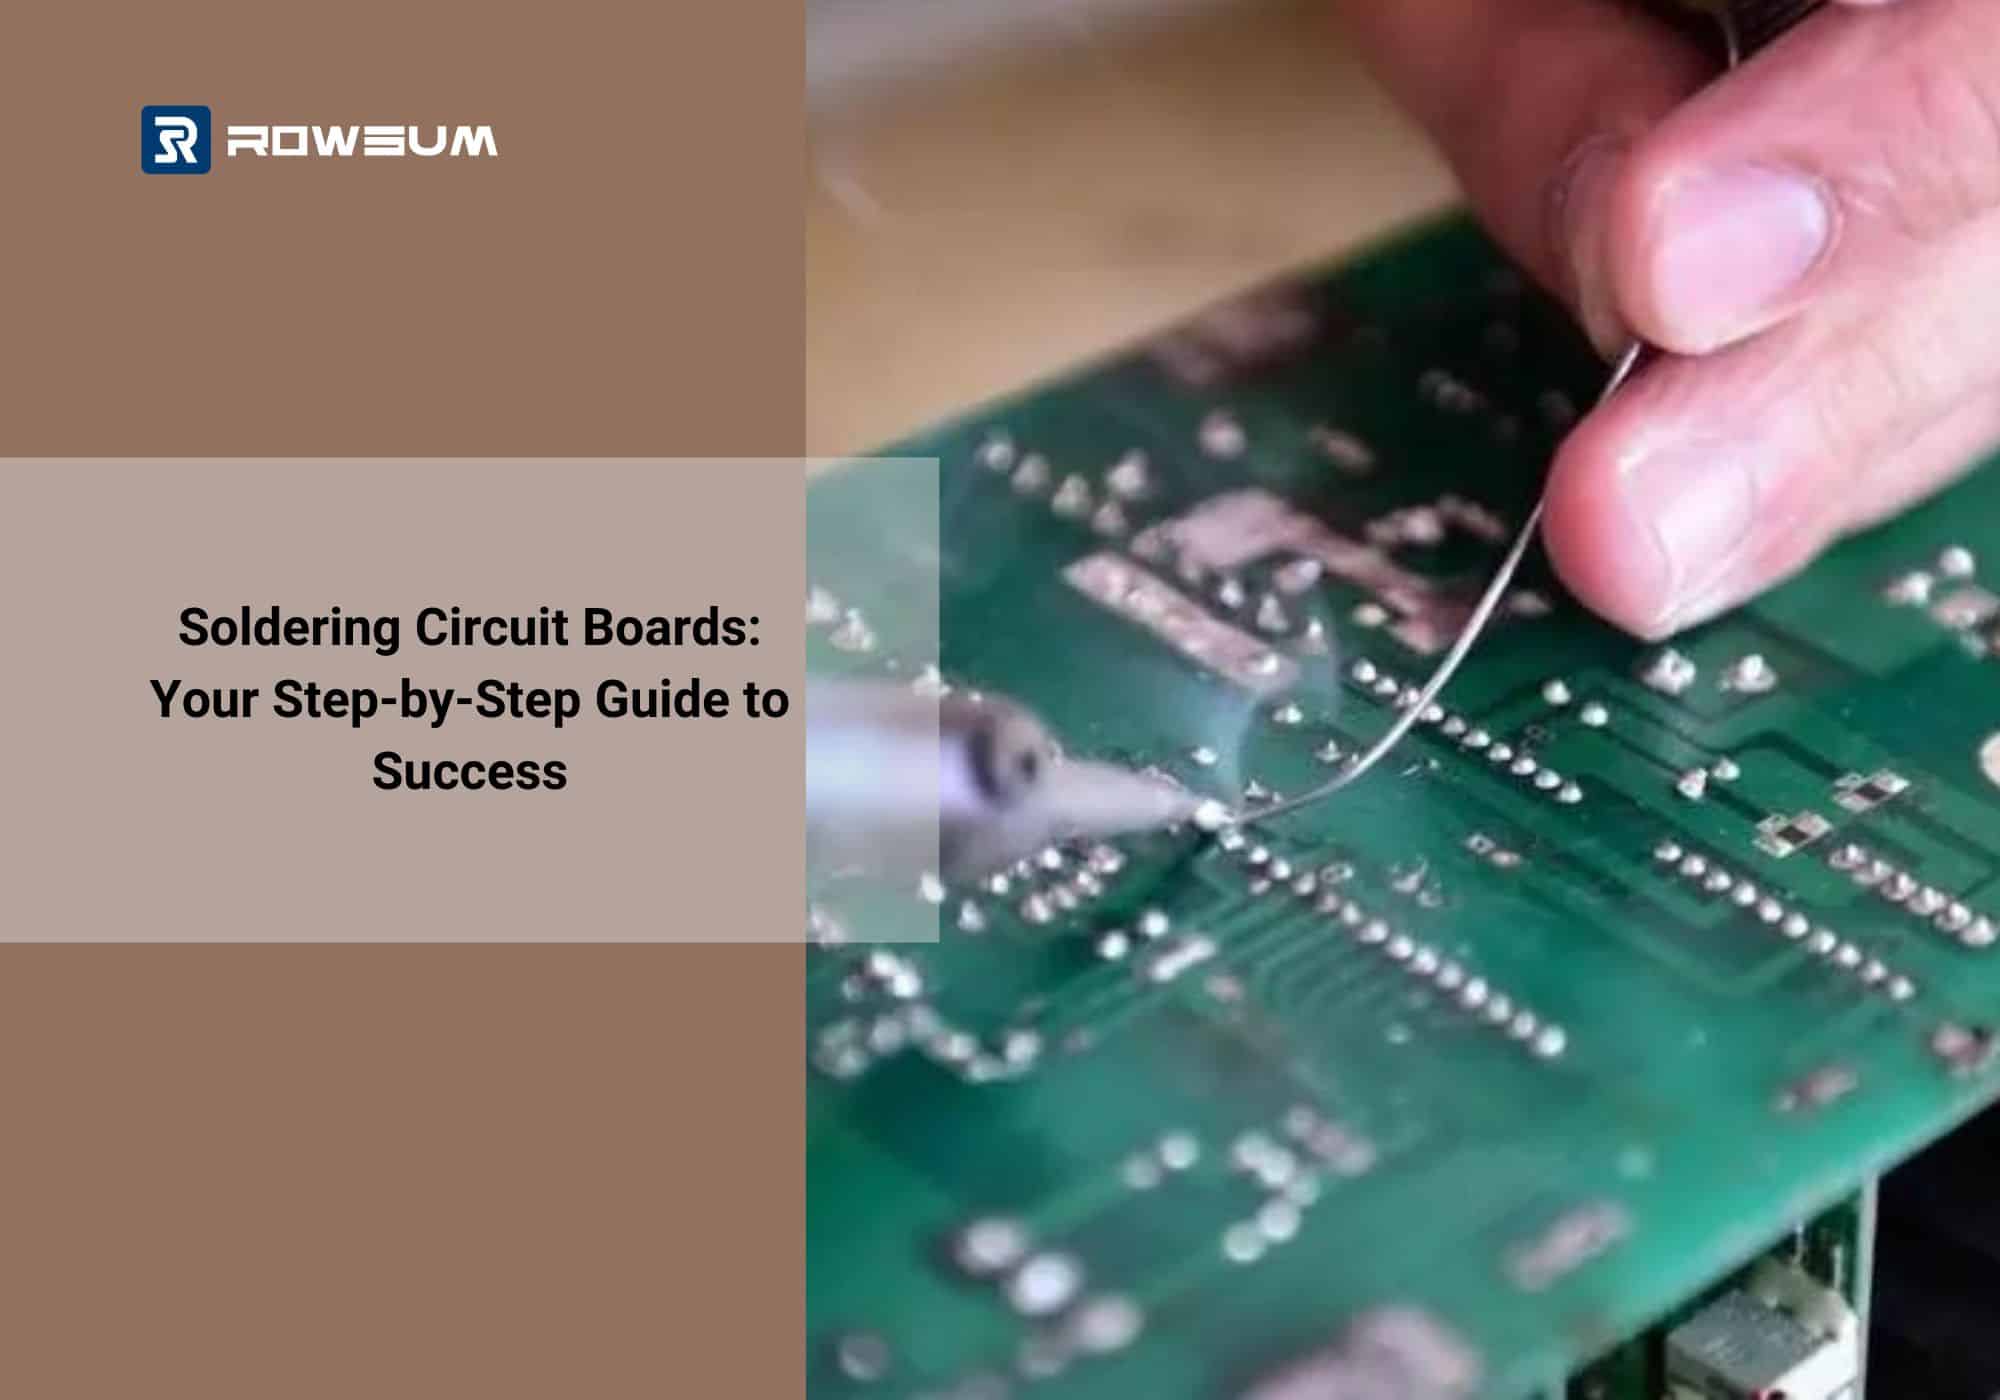
The Soldering Process Explained
- Heat up the soldering iron: Plug in your soldering iron and let it heat up to the recommended temperature. For most soldering work, a temperature between 350°C and 375°C is ideal. This temperature range ensures the solder melts properly without damaging the components or the PCB.
- Tinning the tip: Once the soldering iron is hot, apply a small amount of solder to the tip of the iron. This process, known as tinning, helps improve heat transfer from the iron to the joint. It also prevents oxidation of the iron tip, prolonging its lifespan.
- Apply solder to the joint: Hold the soldering iron to the component lead and the PCB pad simultaneously. Once they’re heated, apply the solder wire to the joint (not the iron tip), allowing it to flow smoothly and form a good connection. Remember, the goal is to heat the joint enough to melt the solder, not to melt the solder on the iron tip.
- Let it cool: After applying the solder, remove the soldering iron and let the joint cool naturally. It’s crucial not to move the joint during this cooling period to avoid creating a weak or ‘cold’ solder joint. A good solder joint should be shiny and have a concave shape.
Post-Soldering: Cleaning and Inspection
Once you’ve soldered all the components, it’s time to clean and inspect your work. Use a brush or a cleaning solution to remove any flux residue from the board. Inspect each joint to ensure it’s well-formed and shiny, indicating a good connection. If you spot any solder bridges or cold joints, use a solder sucker to remove the solder and redo the joint.
Remember, soldering is a skill that improves with practice. Don’t be discouraged if your first few attempts aren’t perfect. Keep practicing, and you’ll see improvement over time.
Tips and Tricks for Effective Soldering
Soldering is as much an art as it is a science. While understanding the process and having the right tools is crucial, there are also numerous tips and tricks that can help you solder more effectively. Here are some of them:
- Keep Your Soldering Iron Tip Clean: A clean tip ensures better heat transfer and makes the soldering process smoother. Regularly clean the tip with a wet sponge or brass wire sponge during soldering.
- Choose the Right Solder: Not all solder is created equal. For electronics soldering, use rosin-core solder. The rosin acts as a flux, helping the solder flow and bond better.
- Heat the Joint, Not the Solder: A common mistake beginners make is trying to melt the solder on the iron tip and then apply it to the joint. Instead, heat the joint with the iron and then apply the solder.
- Avoid Moving the Joint During Cooling: Movement during cooling can result in a weak or ‘cold’ solder joint. After applying the solder, remove the iron and let the joint cool naturally without moving it.
- Inspect Your Joints: A good solder joint should be shiny and have a concave shape. If the joint is dull, cracked, or has a blob shape, it’s likely a cold joint and needs to be redone.
- Practice Makes Perfect: Soldering is a skill that improves with practice. Start with simple projects and gradually take on more complex ones as your skills improve.
Advanced Soldering Techniques for Circuit Boards
Once you’ve mastered the basics of soldering, you can start exploring more advanced techniques. These techniques can help you tackle more complex projects and solve common soldering challenges. Here are a couple of advanced soldering techniques that are particularly useful when working with circuit boards.
Dealing with Solder Bridges: Prevention and Fixes
A solder bridge occurs when solder flows between two adjacent pads, creating an unwanted connection. This is a common issue when soldering small, closely spaced components on a PCB.
To prevent solder bridges, use a fine-tip soldering iron and thin solder wire. Apply only enough solder to form a good joint, and avoid using excessive solder.
If a solder bridge does occur, you can usually remove it with a solder wick or a solder sucker. Simply heat the bridge with your soldering iron and use the wick or sucker to remove the excess solder.
Soldering Temperature-Sensitive Components
Some components, like certain types of sensors or ICs, can be damaged by the high temperatures used in soldering. When soldering these components, it’s important to use a soldering iron with adjustable temperature control.
Set the temperature to the lowest setting that still allows the solder to melt and flow properly. Apply the heat for the shortest time possible to form a good joint. If the component is still too sensitive for direct soldering, consider using a socket or a heat sink to protect it.
These advanced techniques can help you tackle more complex soldering tasks and improve the quality of your work. However, they also require more skill and experience to use effectively. As always, practice is key to mastering these techniques.
Conclusion
Mastering the art of soldering is a journey that begins with understanding the basics and gradually moving towards more advanced techniques. It’s a skill that requires patience, precision, and practice. The more you solder, the better you’ll get at it. Remember, the key to effective soldering lies in the proper use of tools, understanding the materials you’re working with, and applying the right techniques.
Soldering is not just about joining two pieces of metal; it’s about creating reliable and long-lasting electrical connections. So, whether you’re a hobbyist working on a DIY project or a professional involved in PCB manufacturing, these soldering tips and techniques can help you improve your skills and produce better results.
Frequently Asked Questions (FAQs)
- What is the importance of soldering in PCB manufacturing?
Soldering is crucial in PCB manufacturing as it creates reliable and durable electrical connections between the components and the board. - What are some essential tools for soldering?
Some essential tools for soldering include a soldering iron, solder wire, soldering station, soldering mat, and safety equipment like goggles and gloves. - What are some common mistakes to avoid while soldering?
Some common mistakes to avoid while soldering include using a soldering iron that’s too hot, not cleaning the soldering iron tip, and not applying flux before soldering. - What are some advanced soldering techniques?
Some advanced soldering techniques include drag soldering, reflow soldering, and wave soldering. These techniques are typically used in professional PCB manufacturing. - How can I improve my soldering skills?
Practice is key to improving your soldering skills. Start with simple projects and gradually take on more complex ones as your skills improve. This guide provides a good starting point, but don’t be afraid to seek out additional resources and try new techniques.
For more information on PCB manufacturing, assembly, and components sourcing, check out the following services offered by Rowsum Electronics: