Introduction
The Crucial Role of PCBAs
Whether you’re a PCBA developer or a customer relying on these essential assemblies for your electronic devices, you know how crucial they are. PCBAs, the heart of electronic systems, bring various components together to perform complex tasks and functionalities. When they work as intended, they’re the unsung heroes, silently and efficiently driving our high-tech world. But when a PCBA fails, the consequences can be significant, disrupting the performance of an entire device.
The Pain of PCBA Failures
The moment when you discover a PCBA failure can be incredibly frustrating. Perhaps your device starts behaving unexpectedly, or worse, it fails to power on at all. You might find yourself scratching your head, unsure of what went wrong or how to fix it. Even for those with a technical background, PCBA failures can pose challenging puzzles.
Your Guide to Understanding and Addressing PCBA Failures
This is where this article comes in. We understand your pain and frustration, and we’re here to help. This comprehensive guide aims to demystify PCBA failures, explaining common failure types, their potential impacts, and how to troubleshoot them. We’ll also cover how to analyze failures to understand their root causes, a critical step in preventing similar issues in the future. By the end of this guide, we hope to equip you with the knowledge and confidence to address PCBA failures head-on, ensuring the optimal performance of your electronic devices.
So, whether you’re a PCBA developer looking to enhance your troubleshooting skills, or a customer who’s received a troublesome PCBA, this guide is for you. Let’s dive in and uncover the crucial process of PCBA failure analysis together. It might just save your next electronics project.
Understanding PCBA Failures
The Many Faces of PCBA Failures
PCBA failures are as diverse as the devices they inhabit. They can manifest in a myriad of ways, each with its own set of symptoms, causes, and solutions. Let’s explore some common types of PCBA failures, their potential impacts, and the initial steps you can take to address them.
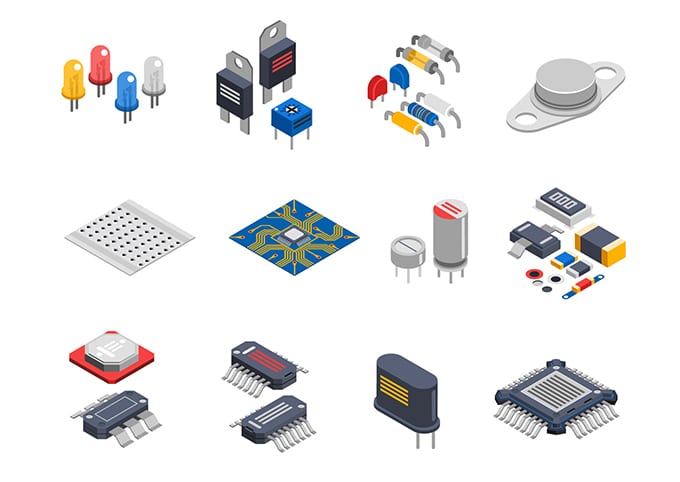
1. Component Failures
Component failures are among the most common types of PCBA issues. These can result from a variety of factors, such as poor quality components, incorrect installation, or physical damage.
For instance, suppose you’ve received a PCBA and your device isn’t working as expected. After some investigation, you discover that a resistor on the board has a much higher resistance than specified. This could be causing your device to underperform or behave unpredictably. In this case, replacing the faulty resistor might solve the issue.
2. Soldering Issues
Soldering issues can also lead to PCBA failures. They could result from problems during the assembly process, such as cold solder joints, insufficient solder, or even solder bridges that cause short circuits.
Imagine turning on a device and it shuts off unexpectedly after a short while. You inspect the PCBA and notice a dull, cracked solder joint – a classic sign of a cold solder joint. This could be causing an intermittent connection, leading to the device’s erratic behavior. Re-soldering the joint might resolve the problem.
3. PCB Material Defects
Sometimes, the PCB itself could be the source of the problem. Material defects like delamination, warping, or even micro-fractures can cause failures.
Perhaps your device is suffering from intermittent failures, and you can’t seem to pinpoint the cause. On closer inspection, you find a small fracture in the PCB, disrupting a critical signal path. Depending on the severity and location of the fracture, repairing or replacing the PCB might be necessary.
4. Overheating Issues
Overheating is another common cause of PCBA failures. It can result from various factors, including high-power components, inadequate cooling, or poor board design.
Let’s say your device is unexpectedly rebooting after operating for a short period. You touch the PCBA and feel an area that’s unusually hot. This could indicate a component is drawing too much current or the board isn’t dissipating heat effectively. Identifying and addressing the heat source could resolve the issue.
These examples represent just a fraction of the potential PCBA failures you might encounter. By understanding these common issues, you’re better equipped to diagnose and address failures, potentially saving your device and reducing downtime. Remember, when faced with a PCBA failure, a systematic approach to troubleshooting is your best ally. In the next section, we’ll delve deeper into the crucial process of PCBA failure analysis.
Analyzing PCBA Failures
The Art of Troubleshooting
Analyzing PCBA failures can feel like a daunting task, especially with the variety of components and complexity of circuits. However, with a structured approach and an understanding of common failure points, you can effectively troubleshoot and resolve issues.
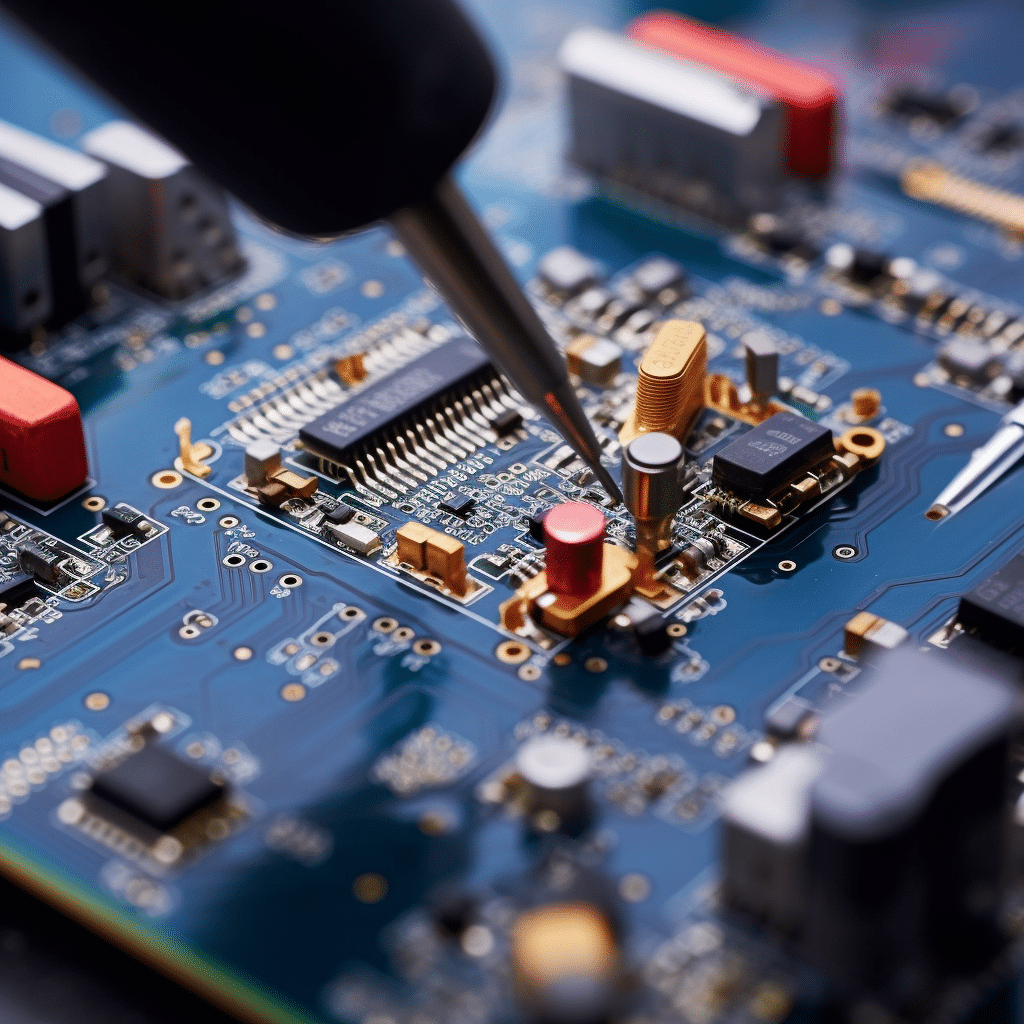
1. Initial Observations
Your first step in analyzing a PCBA failure is a thorough visual inspection. This can often reveal obvious issues such as physical damage, component displacement, or visible defects in soldering. A magnifying glass or microscope can aid in spotting small defects or anomalies.
For example, you might notice that a capacitor is bulging or leaking – a clear sign of failure. Or perhaps a chip’s pins are not properly soldered, creating potential connectivity issues.
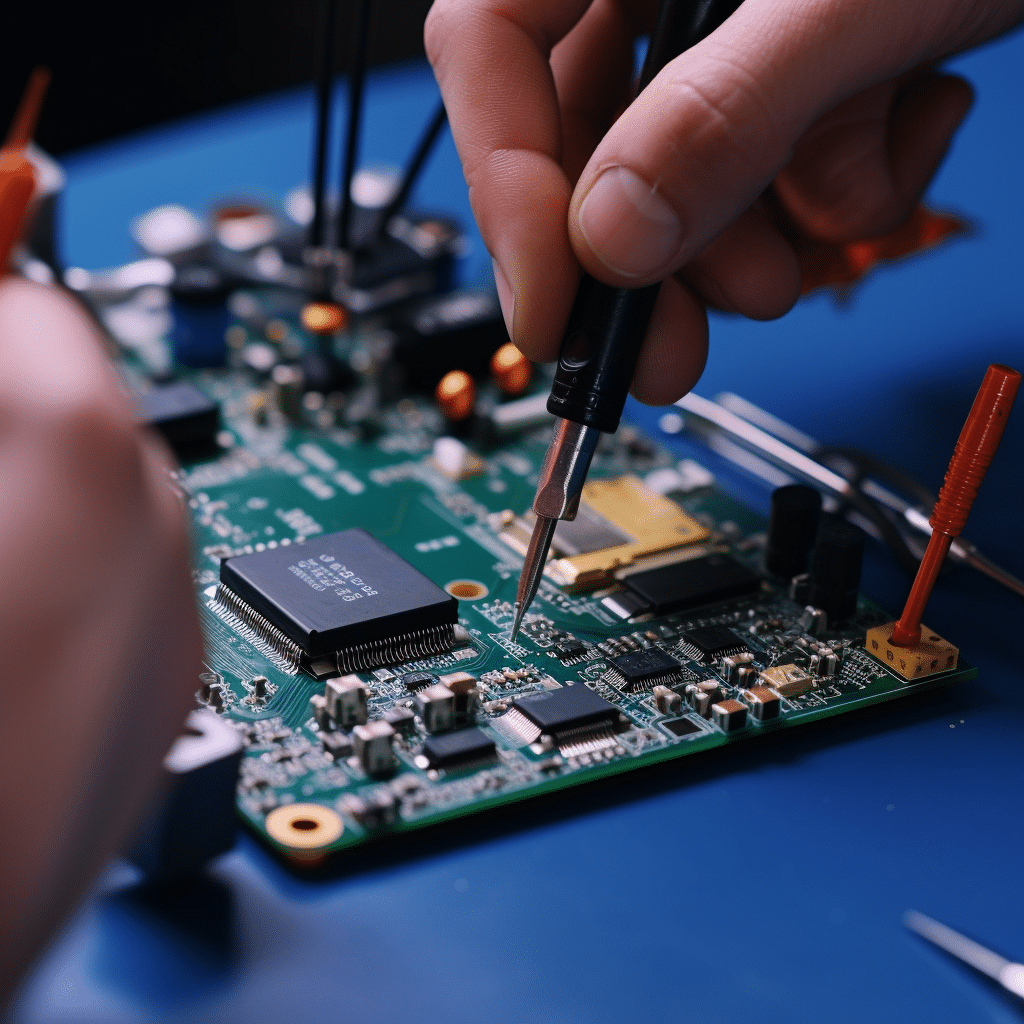
2. Using Testing Equipment
After the visual inspection, employing testing tools can help you further isolate the problem. Multimeters, oscilloscopes, or specialized testing equipment like in-circuit testers (ICT) can be invaluable in diagnosing more elusive issues.
For instance, using a multimeter, you might discover that a diode is not allowing current to flow in the correct direction, indicating it has failed. An oscilloscope could show a digital signal that’s not reaching its expected voltage levels, suggesting an issue with a logic gate or power supply.
3. Systematic Isolation
If the issue isn’t immediately apparent, a systematic approach is needed. This could involve isolating parts of the circuit or testing individual components. Be patient and methodical – sometimes, the issue may not lie where you initially suspect.
You might find, for example, that disconnecting a certain component brings the system back to life. This could mean the component itself is faulty, or it might hint at a deeper issue, like a design flaw causing that component to draw too much current.
4. Seeking Professional Help
Sometimes, despite your best efforts, the root cause of a PCBA failure remains elusive. In such cases, it might be wise to consult with a professional electronics repair service or an experienced colleague. They might be able to provide fresh insights or utilize more sophisticated testing equipment and techniques.
No matter the issue, remember that failure analysis is a learning process. Each problem you encounter and resolve enhances your understanding of the circuit and improves your troubleshooting skills.
Troubleshooting PCBA Failures
The Comprehensive Guide to Resolving Your PCBA Issues
Troubleshooting requires both knowledge and patience. Understanding how to approach an issue analytically will take you a long way. Here we present a detailed, step-by-step guide to help you conquer the intricacies of PCBA troubleshooting.
1. Identify Symptoms
Start by thoroughly observing the board and noting any unusual characteristics. Is a component hotter than expected? Are there visible signs of component damage, like bulging capacitors or charred resistors? Does the board fail to power up, or is it behaving unpredictably? Note down all symptoms as they can be your compass towards the potential problem area.
2. Confirm the Problem
Once you’ve identified the symptoms, your next step is to confirm the issue. For this, you’ll need to employ some basic test equipment. A digital multimeter is an indispensable tool at this stage. Use it to check for continuity, measure voltage levels, or resistance values. For example, if you suspect a power supply issue, you might check for the correct voltage levels at the board’s power input and across different components.
3. Trace the Circuit
Understanding the circuit flow is crucial in troubleshooting. Using the schematic diagram, trace the path of the circuit from the power source through the components. A keen eye might identify a missing connection, a misplaced component, or an incorrect voltage level somewhere along the path.
4. Isolate the Component
If your circuit trace leads you to a potentially faulty component, the next step is to isolate this component. This could mean physically removing it from the board or disconnecting it from the circuit. However, be cautious during this step to avoid causing additional damage to the board or other components.
5. Test the Component
With the component isolated, it’s time to test its functionality. If it’s a resistor, use your multimeter to check if the resistance matches its stated value. For a capacitor, a capacitor meter can verify if it holds the correct capacitance. If the component tests outside of its specifications, it likely needs to be replaced.
6. Recheck the Circuit
After replacing the faulty component, you should recheck the entire circuit to ensure that the problem has been completely resolved. Power up the board and observe if the original symptoms persist. If everything seems normal, then you’ve successfully resolved the issue.
We hope this detailed guide provides you with a solid foundation for troubleshooting PCBA failures. Remember, patience and methodical analysis are the keys to successful troubleshooting. With every problem you encounter and solve, you’ll become a better troubleshooter. And as a final tip, always consider preventive measures and regular maintenance to avoid future failures.
Preventing PCBA Failures
Proactive Measures for a More Reliable PCBA
We’ve taken you through the understanding, analysis, and troubleshooting of PCBA failures. Now, let’s delve into the preventative measures that can be taken to ensure the reliability and longevity of your PCBA. We will share detailed instructions for daily maintenance, storage, and handling, along with an in-depth look into our rigorous prevention methods at our company.
1. Detailed Daily Maintenance and Regular Inspections
It’s crucial to conduct regular inspections of your PCBAs. These checks are the frontline defense against potential problems. Pay close attention to signs of wear, corrosion, or physical damage.
Cleaning
Cleanliness plays a significant role in the performance of a PCBA. Dust, dirt, and other contaminants can interfere with the circuitry and cause short circuits. We recommend using soft, lint-free cloths or compressed air to remove any surface dirt. For more stubborn residues, a specialist electronic cleaning solution can be used. Remember to always follow the manufacturer’s instructions when using cleaning products.
2. Quality Component Selection
The quality of your components can greatly impact the overall reliability of your PCBA. It’s vital to source components from reputable suppliers and ensure they meet the necessary specifications.
Our Standards at Our Company
We adhere to strict quality control measures and only source components from trusted suppliers. We check each component’s specification and quality before integrating it into our PCBAs to ensure we maintain our high standards.
3. Proper Storage and Handling Procedures
Environmental factors such as humidity and temperature can significantly impact the longevity of your PCBA.
Storage
We recommend storing PCBAs in a cool, dry place away from direct sunlight. Humidity levels should be kept between 5% and 60%, and temperatures should not exceed 85 degrees Fahrenheit (29.5 degrees Celsius).
Handling
When handling PCBAs, it’s essential to use anti-static gloves or wristbands to prevent electrostatic discharge, which can damage the components. Always handle PCBAs by the edges to avoid touching and potentially damaging the components or circuitry.
4. Comprehensive Testing Procedures
Our Approach at Our Company
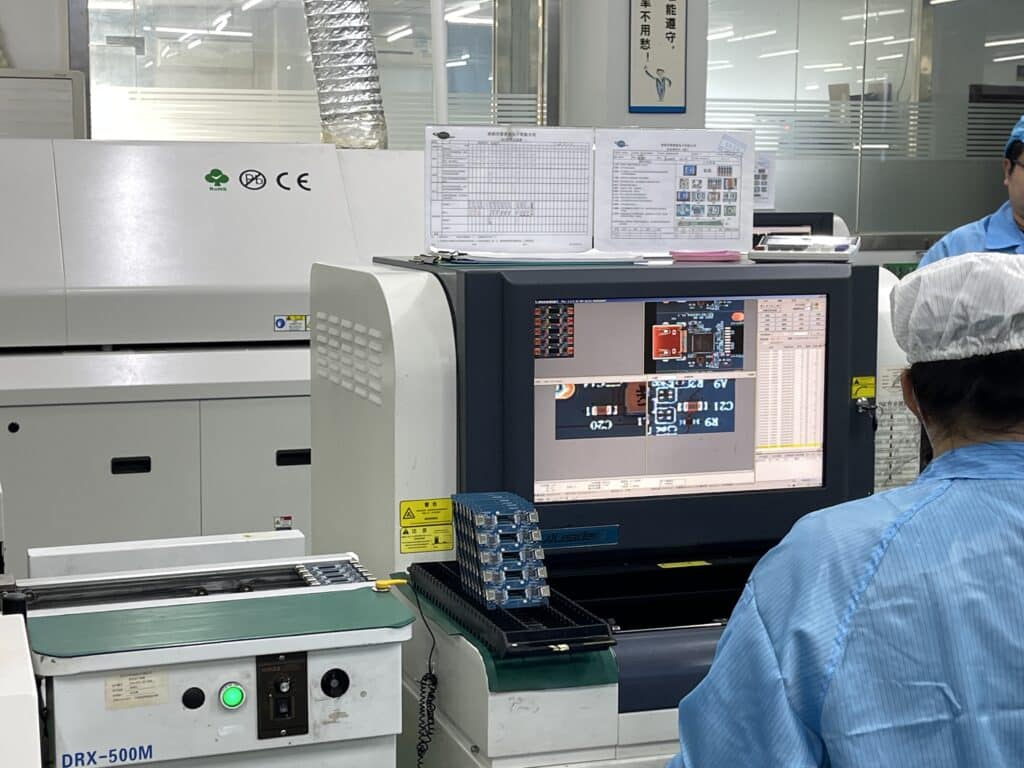
We ensure every PCBA undergoes rigorous testing procedures before leaving our facility. Our process includes visual inspections, functional tests, X-ray inspections, and even Scanning Acoustic Microscopy. We use these techniques to identify any potential issues and guarantee our customers receive the highest quality product.
5. Continuous Learning and Improvement
The electronics industry is always evolving, and so should our understanding of it. We regularly review and update our manufacturing processes and testing procedures. We also invest in the latest equipment and technology to ensure our testing and production processes are up to date and as effective as possible.
In conclusion, preventing PCBA failures lies in meticulous daily care, stringent quality control, proper handling and storage, and continuous learning. By incorporating these practices, you can enhance the reliability and longevity of your PCBAs and ensure they function at their best for longer.
Conclusion
We hope this comprehensive guide has given you a deeper understanding of the intricacies involved in PCBA failures. Recognizing the types of failures, their causes, and the appropriate steps to troubleshoot and prevent them can make a significant difference in your PCBAs’ longevity and performance.
However, dealing with PCBA failures is not a solitary battle. It’s a collaborative effort between you, as the user, and us, as your trusted PCBA partner. At our company, we are committed to the highest standards of quality, from sourcing premium components to implementing rigorous testing procedures, ensuring the PCBAs you receive are robust, reliable, and built to last.
Our team comprises experienced engineers and technicians who specialize in tackling PCBA failures. They are dedicated to ensuring that every PCBA we produce meets our exacting standards and, more importantly, satisfies your specific needs.
In conclusion, while this guide provides a roadmap to understanding and addressing PCBA failures, it’s the partnership with a reliable and experienced PCBA manufacturer that truly makes the difference. We invite you to reach out to us for any further inquiries, concerns, or assistance you might need regarding PCBA failures. Our team is always ready and eager to assist you every step of the way.
Thank you for your time, and we look forward to supporting you in your journey towards optimal PCBA performance.
Frequently Asked Questions (FAQs)
Q1: What is the most common cause of PCBA failures?
The most common causes of PCBA failures are usually soldering issues, component defects, and design flaws. However, the specific cause can vary greatly depending on the particular circumstances surrounding each PCBA.
Q2: How can I prevent PCBA failures?
Preventing PCBA failures involves a combination of careful design, rigorous testing, and regular maintenance. This includes ensuring your PCB design is optimized for manufacturing, using quality components, ensuring proper soldering, and conducting thorough testing. Regular visual inspections and appropriate storage conditions can also help prevent failures.
Q3: What types of tests are used to detect PCBA failures?
Various types of tests can be used to detect PCBA failures, including visual inspection, X-ray inspection, in-circuit tests (ICT), functional tests, and environmental stress tests. The specific tests used will depend on the nature of the PCBA and the suspected cause of failure.
Q4: How can I troubleshoot a failed PCBA?
Troubleshooting a failed PCBA involves identifying the type and cause of the failure, then taking the necessary steps to resolve the issue. This can include re-soldering components, replacing faulty components, or even redesigning the PCB in some cases.
Q5: Can PCBA failures be repaired?
Yes, many PCBA failures can be repaired, depending on the type and extent of the failure. Some common repairs include re-soldering or replacing components, cleaning the PCBA, or repairing traces. However, some failures may be severe enough that the PCBA cannot be economically repaired and must be replaced.
Q6: What can your company do to help me with PCBA failures?
Our company offers comprehensive services to help you deal with PCBA failures. This includes a team of experienced engineers and technicians who can provide consultation and guidance on failure analysis, troubleshooting, and preventive measures. Additionally, we ensure the highest quality standards in our manufacturing process, from sourcing components to rigorous testing procedures, to minimize the chances of PCBA failures.
We invite you to reach out to us if you need any further assistance with your PCBA needs. We’re here to help you every step of the way.